Page Content
Publishing using iOS Audio Pipelines
The iOS SDK supplies a selection of pipelines and options that can support a variety of workflows. This page provides background information on the capture and pipelines, as well as recommendations for implementing different workflows in your iOS application, when using iOS audio with Phenix SDK 2022.x and higher.
Background
iDevice built-in microphone topology
Since the iPhone 5, Apple has configured the iPhone with 3 microphones, located on the front, back, and bottom of the phone. We have no programmatic control over the individual microphones in iOS. with the following workflows in mind:
-
Capture audio from the expected source direction
-
Capture audio only where the voice is heard loudest
-
Capture stereo audio
The microphones are also used to capture environment audio for the purpose of noise cancellation.
Capture audio from the expected source direction
iOS exposes the array of microphones on board of a device as one built-in microphone.
When capturing audio in combination with a camera direction, the primary microphone for recording the audio, which accompanies the video, will be on the same side as the camera sensor which captures the video image.
This means that when selecting a camera facing mode in the iOS, that the primary microphone will match the same direction. Camera facing modes are relative to the screen of the device, with a user operating the device, and identified as:
- Front camera, which is user facing
- Back camera, which is facing away from the user
When the user-facing camera is selected, the built-in microphone that is selected will face the user, meaning it is on the front of the device, facing the user. When one of the environment-facing cameras is selected, the built-in microphone that is selected will face the environment, meaning it is on the back of the device.
Capture audio where the voice is heard loudest
When capturing only audio from a microphone, with a focus on recording a human voice, without the influence of a camera facing mode, Apple will select the microphone that captures the voice most clearly.
Remember that iOS only exposes one built-in microphone and Apple's iOS is deciding which microphone is best suited when listening into the incoming signal. We have no programmatic control over this.
Capture stereo audio
For stereo audio, two microphones will be selected. One of those microphones will be typically aligned to the camera facing mode, while the other will be the microphone on the bottom of the phone.
This mode is used while focusing on environment audio.
Audio input rendering pipelines available in the SDK
iOS audio support
iOS has several audio frameworks for working with audio. For capturing audio it offers AudioToolbox, which is a set of APIs that cover a wide range of audio applications, including microphone capture.
Phenix SDK audio implementations
Automatic Echo Cancellation (AEC) is used to prevent the microphone from picking up audio which is played through the speaker, and therefore preventing ‘echoes’ broadcast back to the sender.
Automatic Gain Control (AGC) tries to boost a signal when it is not loud enough.
AEC must be set to "on" from the application to enable configuring the iOS Voice Processing Pipeline, Automatic Echo Cancellation, and Automatic Gain Controls in the Phenix SDK Audio Pipeline.
The Phenix SDK provides two audio rendering pipelines. They are:
-
Unprocessed Audio Pipeline, used when Automatic Echo Cancellation is disabled, which does not filter the audio samples, renders and mixes them without alteration.
-
Voice Processing Pipeline, used when Automatic Echo Cancellation is enabled, which has the capacity to filter the audio with filters which are specific to human voices.
Echo Cancellation in iOS
When enabling Echo Cancellation, the Phenix SDK currently also enables Automatic Gain Control internally.
Voice Processing configuration in iOS and Phenix SDK
Phenix SDK uses features from the iOS SDK to deliver echo cancellation and Automatic gain control.
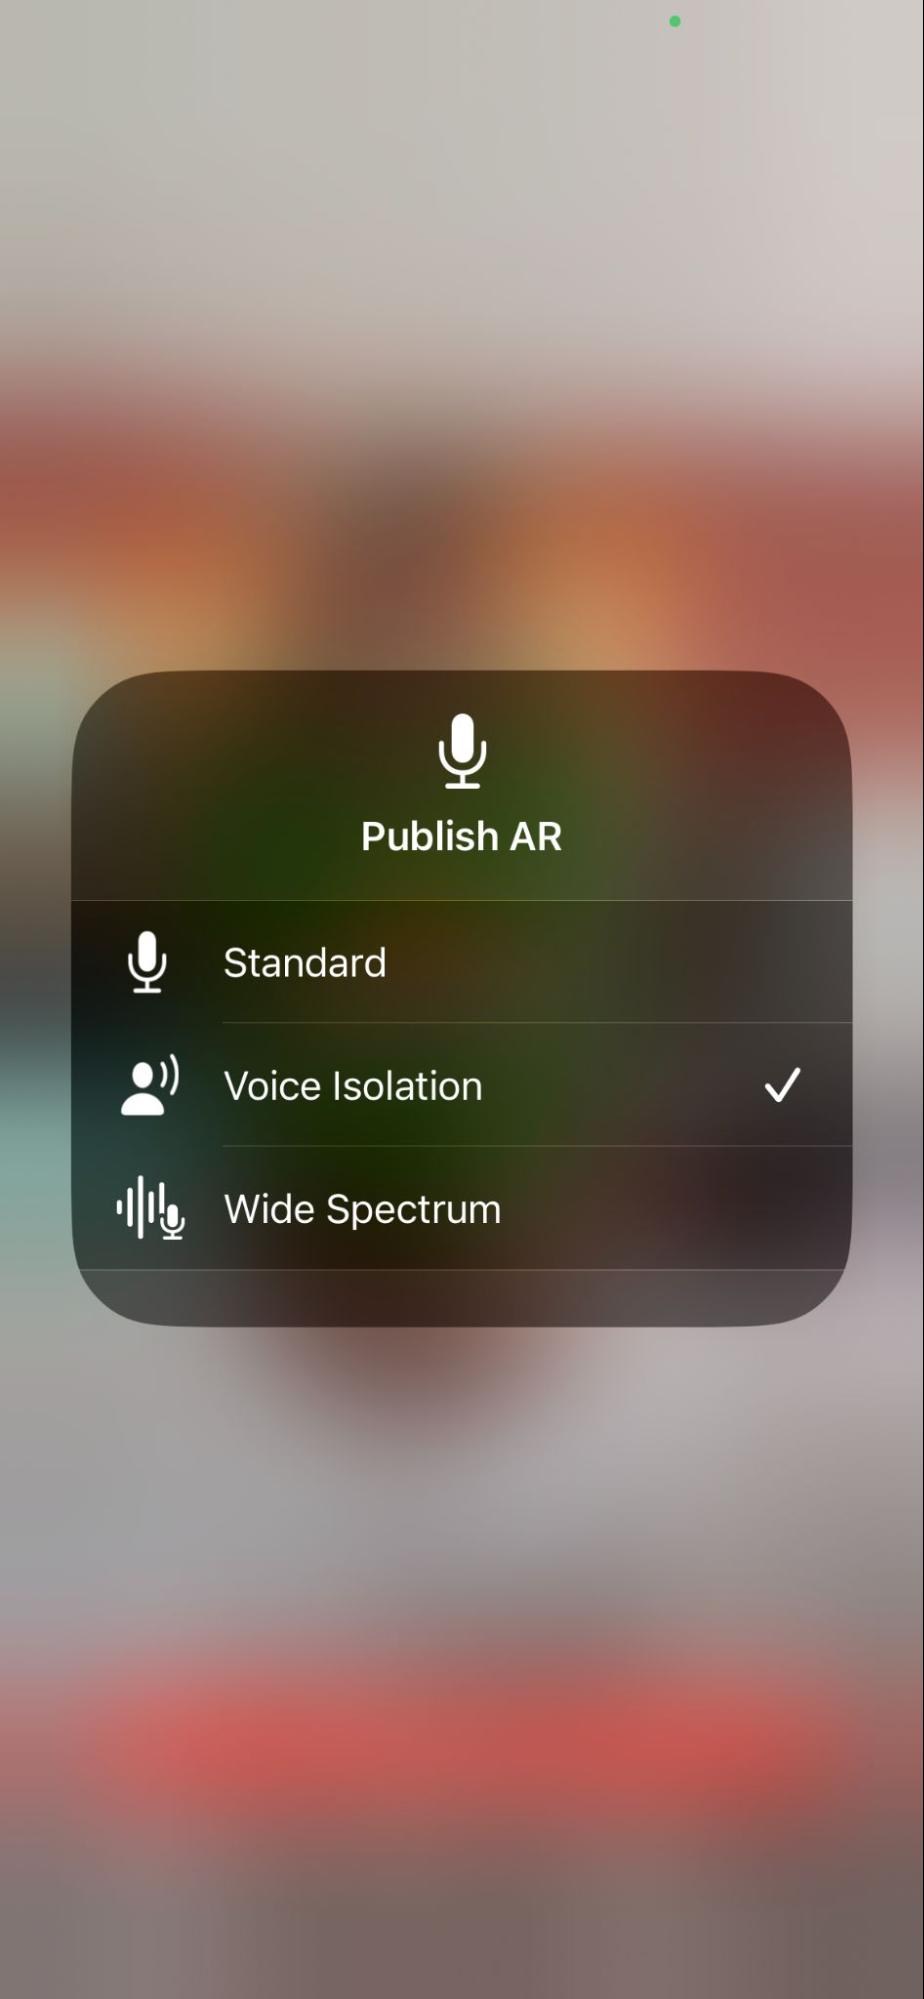
Voice Isolation Controls
Introduced with iOS 15 specifically for FaceTime and other voice calling apps, now available for most apps that use the Voice Processing Pipeline, the end-user has the ability to configure background noise cancellation. The device must have iOS 15 or higher and an A12 or higher bionic chip.
When the Voice Processing Pipeline is active, the iOS user has the ability to set the
Mic Mode of the microphone selected.
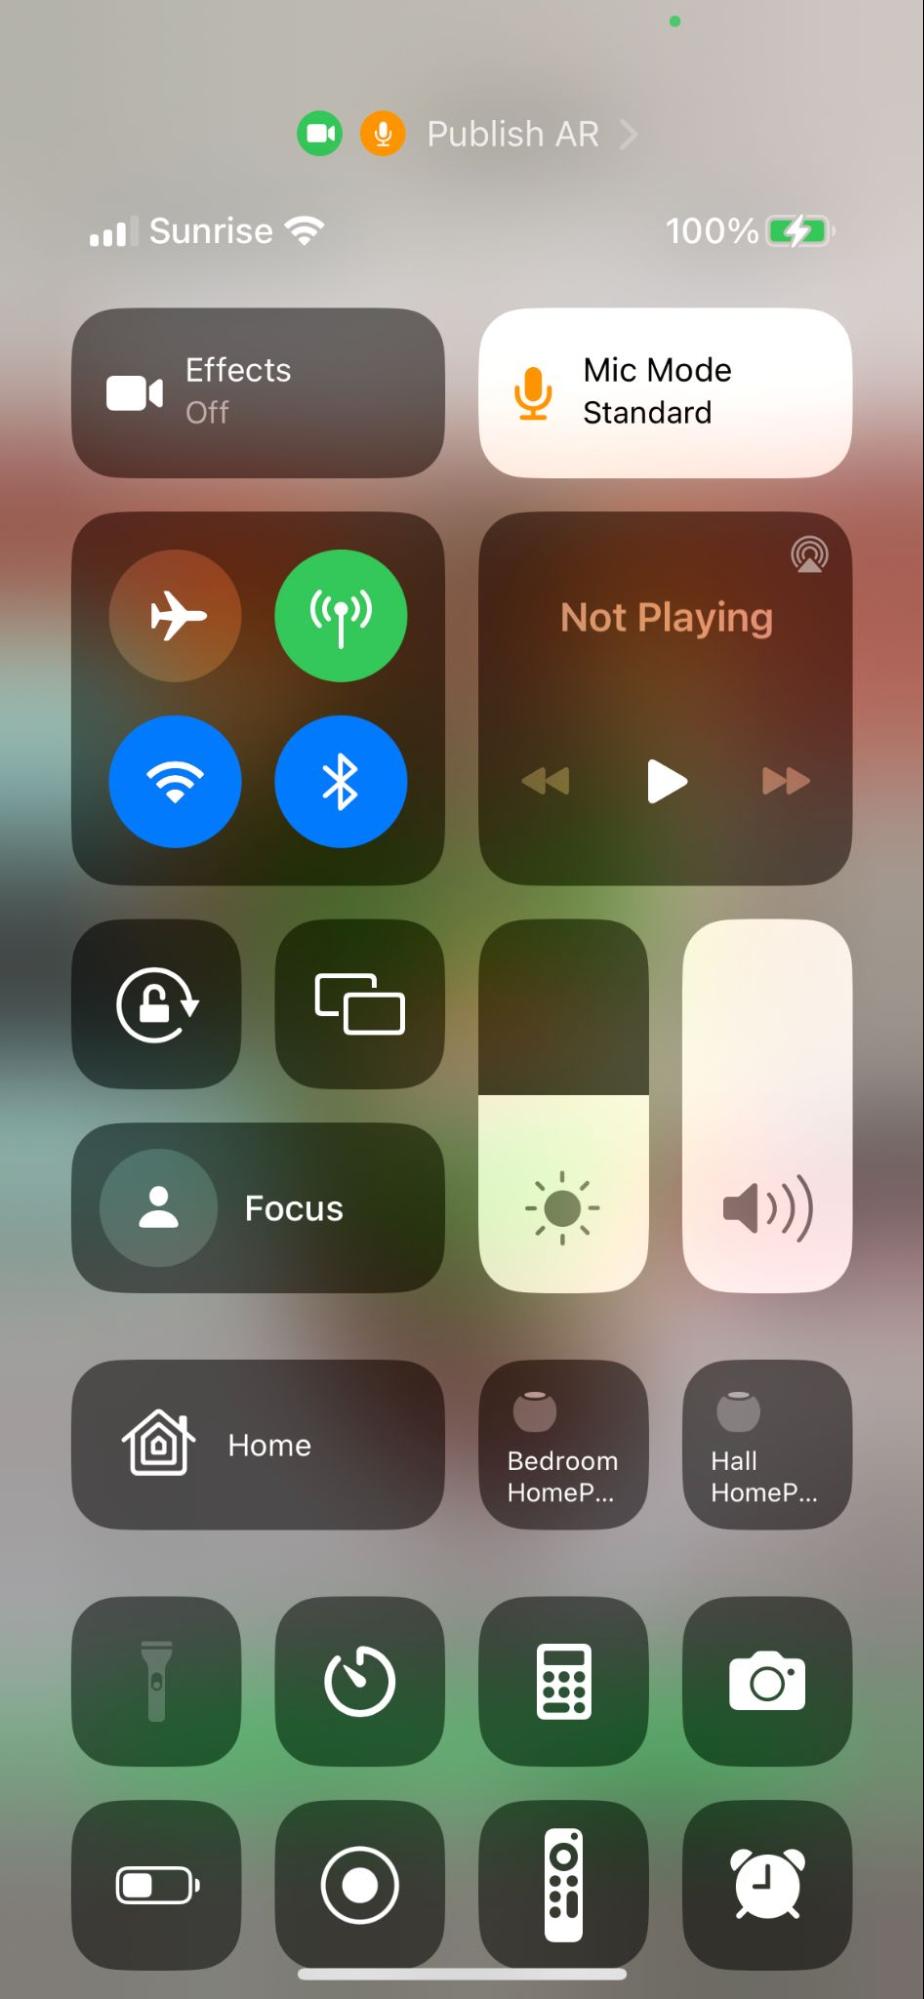
Mic Mode has the following options:
- Standard: No noise cancellation
- Voice Isolation: Isolate the voice and cancel out other sounds
- Wide Spectrum: The inverse of voice isolation, where the focus of the audio capture is on the environment, therefore amplifying ambient sound capture.
Voice Isolation has been tested to work with both the iPhone Built-In microphone as well as Bluetooth devices like Airpods Pro and other headsets.
AEC Settings Based on Use Case
When Automatic Echo Cancellation (AEC) is on, Automatic Gain Control (AGC) is on automatically, and Voice Isolation is available if the device is iOS15 or higher. When AEC is off, AGC cannot be turned on, and Voice Isolation is not available.
| Audio Source | Audio Content | Recommended AEC Setting |
|---|---|---|
| Built-in microphone | Environment audio | Off |
| Built-in microphone | One voice | On |
| Speaker | Group Chat | On |
| Frame-Ready callback | Any | Off |
| Studio audio source | Any | Off |
Using Audio Controls in Your Application
For audio settings, there are three main options that should be integrated into your app.
- External Microphone: iOS automatically selects the correct settings when a bluetooth microphone such as Air Pod or another professional-grade microphone, or a wired microphone (e.g., via USB-C), is connected.
- User Settings: Prompt user to enable Voice Isolation
- Advanced Settings: Allow an expert user to select a specific microphone and a specific polar pattern.
See the Phenix API documentation for details.
The first two options rely on Apple's Voice Processing Input/Output (VPIO). A GetUserMedia option, AEC (audio echo cancellation), tells the Phenix SDK where to capture audio and video, and to whether to enable or disable that VPIO. AEC is enabled by default.
Option 1: External Microphone
If bluetooth microphones such as Air Pod or professional, studio-grade microphones, or a wired microphone (e.g., connected via USB-C) is connected to an iOS device, that microphone is automatically chosen as the input source. It is best practice to tell users to test their microphone prior to streaming.
To enumerate and get all available devices, use the following:
- getUserMedia API: obtain audio and video streams (we currently use null device for video, and for audio - microphone we use the default audio device)
- EnumerateSourceDevices API: Enumerate Devices
- Speaker for audio output: no API / selection. Will use whatever is default in app
Option 2: User Settings
Setting AEC in the Phenix SDK (requires VPIO) enables echo cancellation. By default, only the bottom mic is used. To use all mics the Voice Isolation Mode (not default) (Other options: Standard (default), Wide Spectrum). With all mics in use, it can handle if one of them is covered and will pick up the voice best possible. If only one mic is used (without Voice isolation), then a rig, stand, cover or other directional issues will impair sound quality. Voice Isolation can NOT be enabled programmatically but the app can prompt the system dialog to appear and the user has to manually enable it for the app.
The UX will need to detect whether this setting is on, and prompt and also manage in case there is need to have it off at other times, e.g. content that transitions from a talking head to music.
UI Recommendation
Users have these options available but may not know they're there. The app should show a dialog that allows selecting between Standard, Voice Isolation, and Wide Spectrum; or publishers can go into the Phone control panel and make the selection there. The mic mode, once selected in an app, does NOT change unless the user changes it. An app should offer guidance on which option is preferable for a publisher's use case.
Use-Cases:
- Talking Heads: when you only care about what the person is saying, use Voice Isolation
- Environment / Background music / Nature stream: when you care about all the ambient noise, use Wide Spectrum
- Round table with multiple people talking: A professional mic / plugged in mic would probably be better, Wide Spectrum may pick it up if a person doesn't have a professional setup and is walking around the streets.
The app can use APIs to show the dialog.
Triggering the dialog shown can can be done with UX, but Apple may not allow an auto-selection of the mode. The code below can be used to test the mic mode setting using the API:
Swift
if (AVCaptureDevice.preferredMicrophoneMode != .voiceIsolation) {
        AVCaptureDevice.showSystemUserInterface(.microphoneModes)
        }
Option 3: Advanced Settings
This enables the user to select a specific microphone and a specific polar pattern, and should only be used if other options don't work. The app must abstract the complexity away from the user, and also provide a sound check feature to ensure the audio quality is acceptable. This mode requires VPIO be turned off, which also requires AEC be disabled.
GetUserMedia Options
The following settings are passed into the options for GetUserMedia, which is the API that is used to capture the user's microphone and camera. The Phenix SDK will take these constraints into account to look for a microphone that most closely matches the request.
- Facing Mode:
- User: facing the publisher (relative to the microphone the user wishes to select)
- Environment: facing away from the publisher (relative to the microphone the user wishes to select)
- DeviceLocation:
- Automatic
- Upper
- Lower
- PolarPattern:
- Automatic
- Omnidirectional
- Cardioid
- Subcardioid
Microphone polar patterns
A microphone's polar pattern defines its sensitivity to sound relative to the direction of the sound source. Current-generation iPhones support setting the preferred polar pattern for the front and back built-in microphones. See Apple's documentation for more information.
Sound Check
Publishers benefit from a sound check with visual feedback on audio. A good sound check feature will do the following:
- Check if audio quality is low
- Provide advice for what to do about it, including suggestions on microphone settings, publisher surroundings, and other possible issues such as a phone case or stand blocking the microphone
User Experience tips:
- Before showing the mic mode dialog between Standard, Voice Isolation, Wide Spectrum, make sure the user knows what they mean.
- Explain that this setting will NOT change the setting for any other app.
- The microphone mode, once selected in an app, does NOT change unless the user changes it.
- Prompt the user only the first time they publish. Document where settings can be changed if they want to update their default setting.
- Even before the user is streaming, the app can show the user the mic mode dialog by calling
AVCaptureDevice.showSystemUserInterface(.microphoneModes). The current "Mic Mode" setting can be verified at any time using the observable property AVCaptureDevice.preferredMicrophoneMode. Your app can subscribe to this property to be notified of any changes.
To perform a sound check before going live:
- Use the GetUserMedia API, which captures audio from the microphone
- Use the FrameReadyAPI, which allows use of audio samples. The user can make a recording for 5-10 seconds and play it back, and then be prompted with a dialog such as, "Here is what you sound like. Do you like it?" with options of Yes / No / Re-record.
- Use the stream you get from calling GetUserMedia API to trigger the FrameReadyAPI to capture and analyze the audio, and PublishToChannel API to publish
- Provide a visual representation of audio, using the FrameReadyAPI to capture and analyze the audio.
v2025-03-24T21:12:24.000Z