Page Content
Create a Channel or Room using the Phenix Portal
Log into the Phenix customer portal.
Create a new channel by clicking on the plus sign in the upper right corner of the Channels page. The same icon is shown in the Rooms page, and creating a Room follows the same process as shown for Channel.

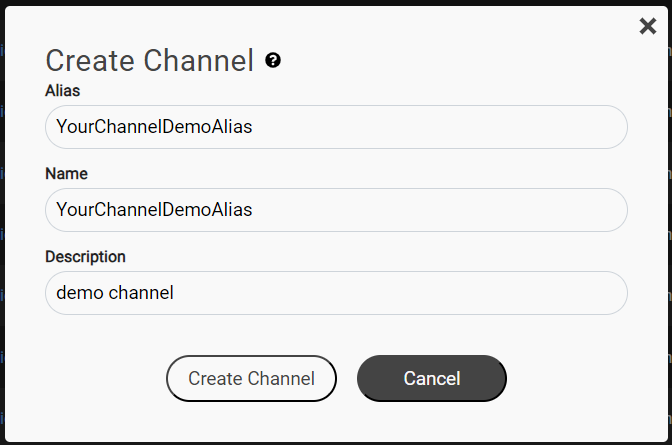
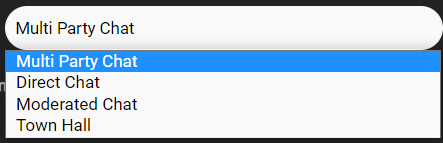
The portal will display a dialog. Enter an alias, name, and description for the channel. If creating a Room, you will also select the Room Type.
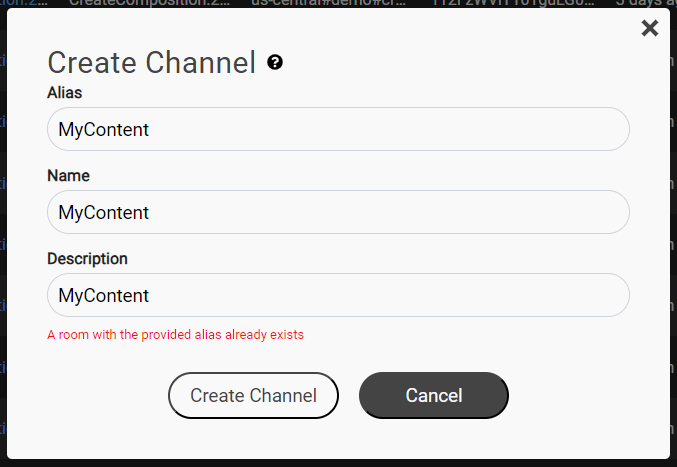
If the name of the channel or room is already in use, the portal will not let you create the new room or channel.
If the name is available, the new channel will be shown in the Channels page.

A new Room will be shown in the Rooms page, which is filtered by Room Type. If your new Room is not shown, click the Room Type drop-down menu and select the correct Room Type.
v2025-03-24T21:12:24.000Z