Page Content
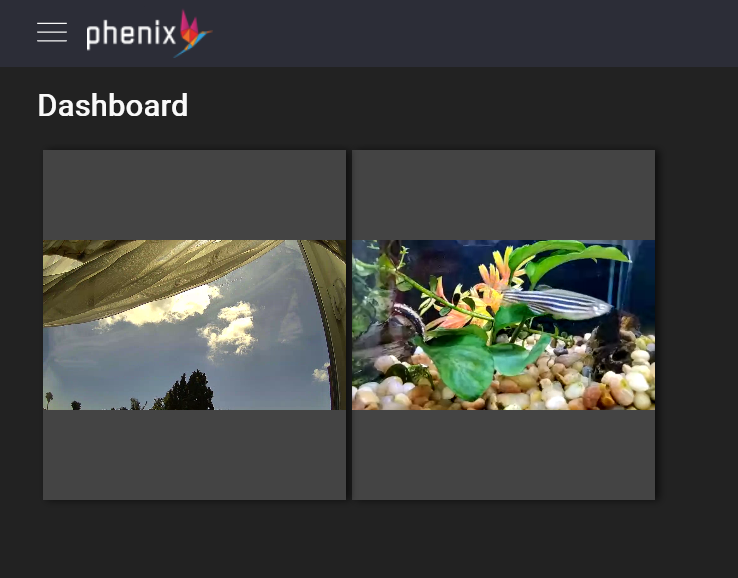
Dashboard
The Portal Dashboard allows you to build a view of multiple channels that can be used for monitoring your published Channels.
Dashboard settings are saved to the browser data on your local device. If you log into the Portal with another browser or from another device, the Dashboard view will not be the same unless you have selected the same Channels in that browser or on that device.
Adding Tiles
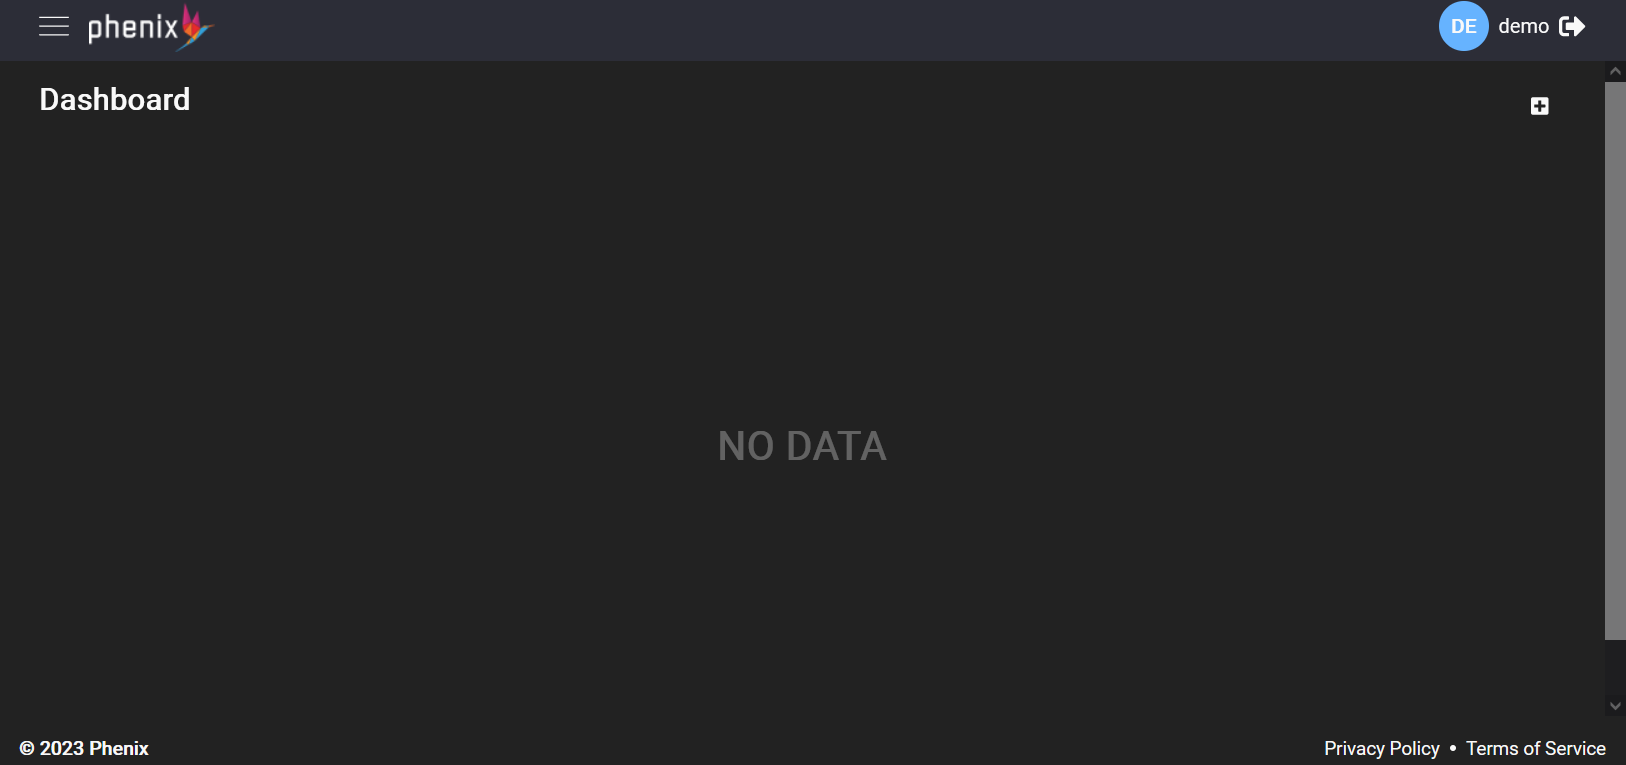
When you first view the Dashboard, it will show a message indicating that no Channels have been selected.
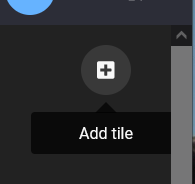
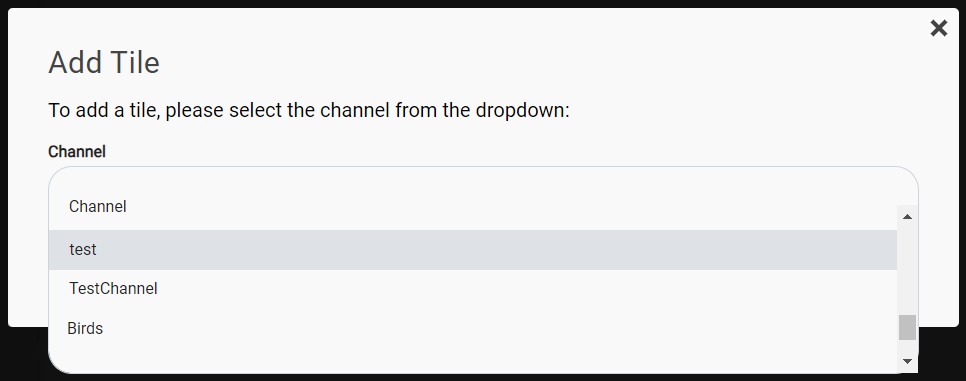
To select a Channel, click the + button in the upper right of the Dashboard window.
In the dialog that appears, click in the Channel box.
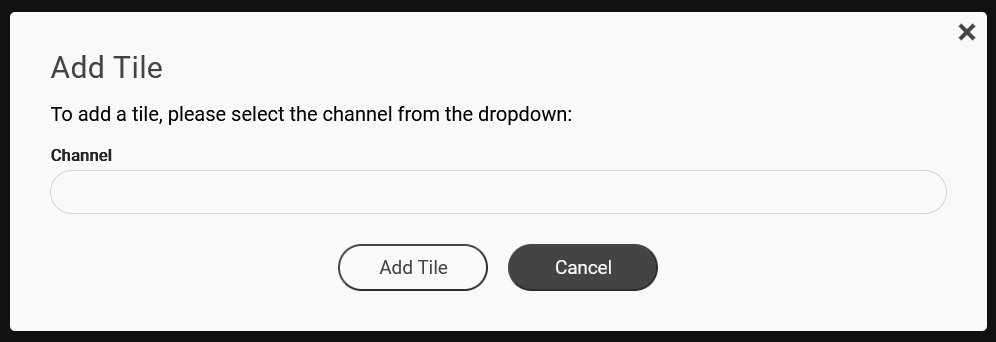
Select the desired Channel Alias shown in the dropdown.
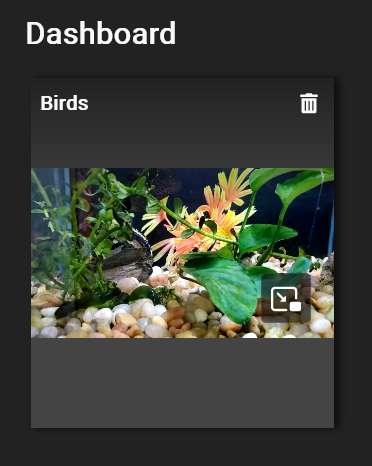
A tile showing the Channel content will be added to the Dashboard.
Add more tiles as desired.
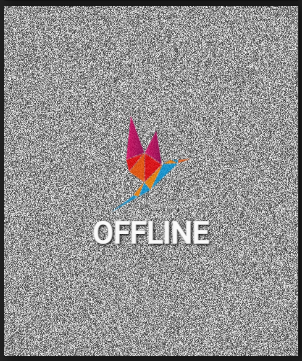
If a Channel is offline, the Portal will show offline.
Using the Dashboard
Tiles can be dragged to new positions on the Dashboard using your mouse. A dotted white line is shown where tiles can be dropped on the screen.
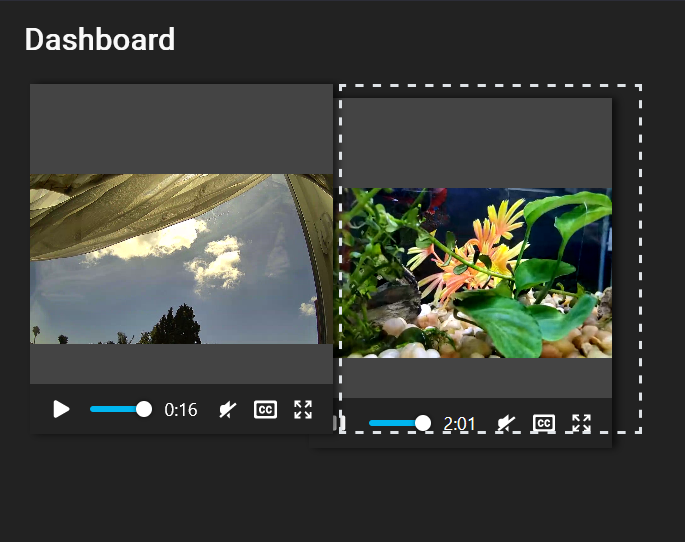
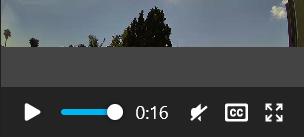
On mouse-over of the video window in a tile, the tile shows video controls that can be used to pause, unmute, and expand the tile to fullscreen. The exact icons vary depending on the browser used.
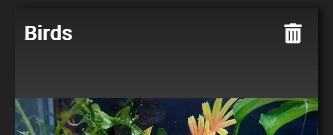
On mouse-over of the tile, the tile shows the Channel Alias and a trash can icon to remove the tile from the Dashboard.
Deleting a Tile
To remove a Channel's tile from the Dashboard, click the trash can icon on the tile.
Removing a Channel's tile from the Dashboard does not delete the Channel or kill its streams.
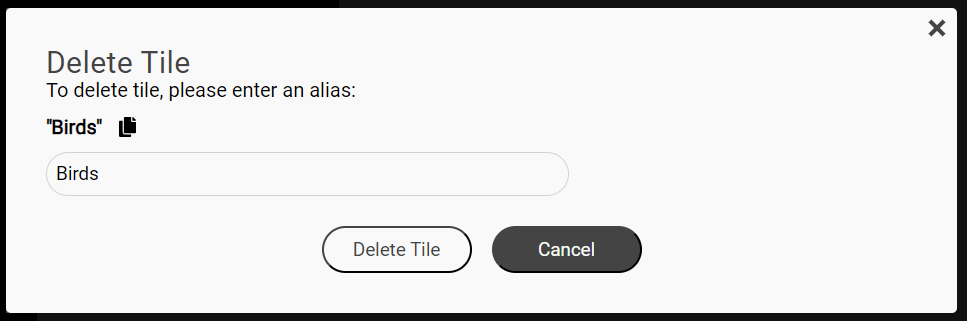
The Dashboard will prompt you for verification before removing the tile.
v2025-03-24T21:12:24.000Z