Page Content
Publishing from OBS
Phenix supports a variety of ways to publish content from Open Broadcaster Software (OBS).
Popular Protocols
You can publish from OBS using either of the following protocols:
You can also use the OBS virtual camera as an input to the WebSDK.
RTMP
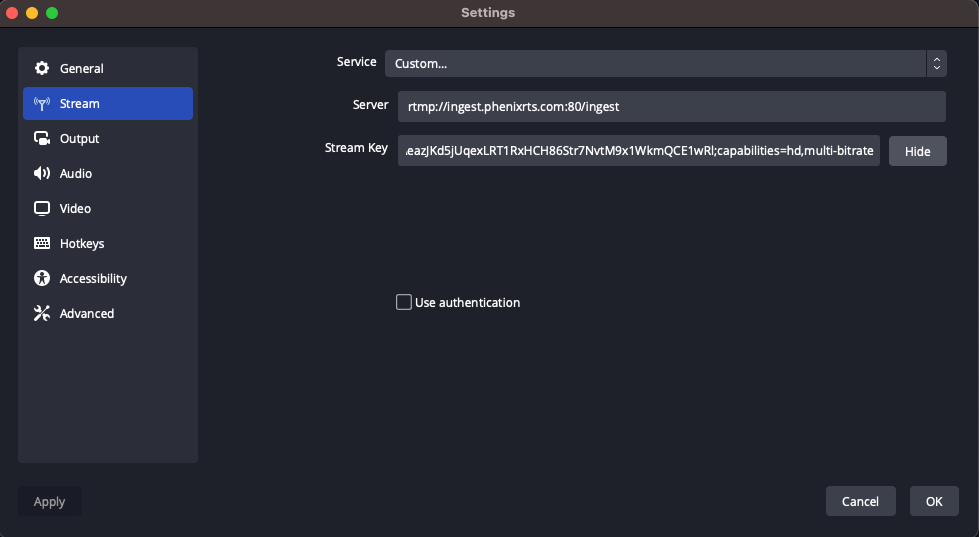
To stream to Phenix using RTMP from OBS, click on the "Settings" dialog.
Open the "Streams" page.
Select Custom... from the "Service" drop-down.
In the Server field, enter rtmp://ingest.phenixrts.com:80/ingest/.
In the Stream Key field, enter the stream key for the channel or room to which you want to publish,
followed by ; (a semicolon) and any capabilities or tags that you wish to use; for example: capabilities=hd,multi-bitrate.
For additional details on the stream key, see the RTMP Ingest page.
Character Limit
OBS limits the length of the stream key + capabilities string to 255 characters. Any capabilities that are completely or partially (e.g., one character too long) over that limit will not be used.
Click on Output and check the settings.
Under Streaming Settings, the audio track must be mono, with Audio Encoder set to FFmpeg AAC and Video Encoder set to x264.
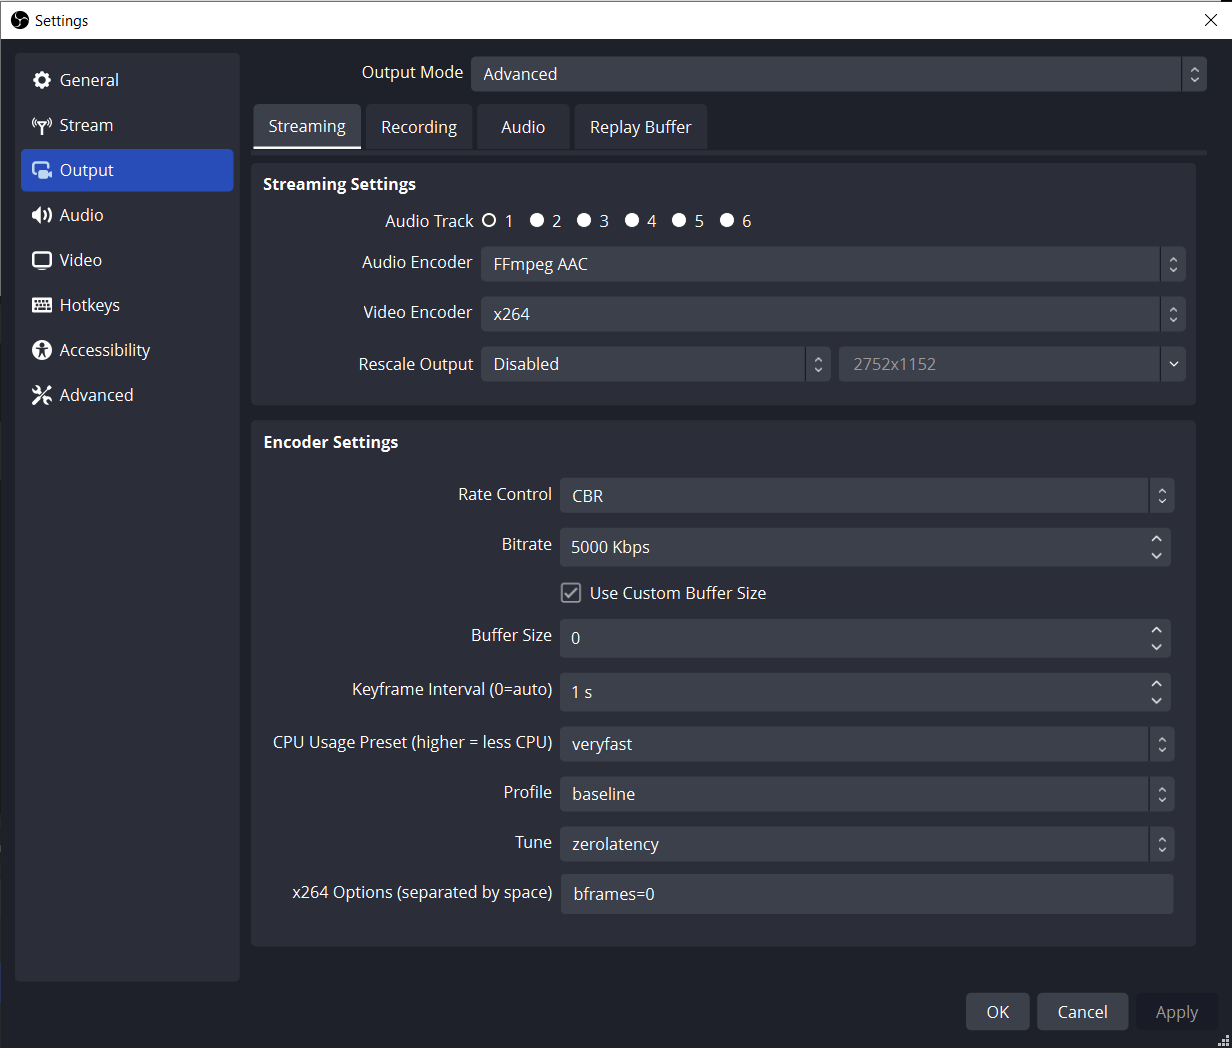
Under Encoder settings, Rate Control should be CBR. Set the bitrate to an appropriate value for the content you will be streaming. Set the rest of the parameters to the following values:
-
Buffer Size: 0 (zero)
-
Keyframe Interval: 1 s
-
CPU Usage Preset: veryfast
-
Profile: baseline,
-
Tune: zerolatency
In x264 Options type in bframes=0 (zero).
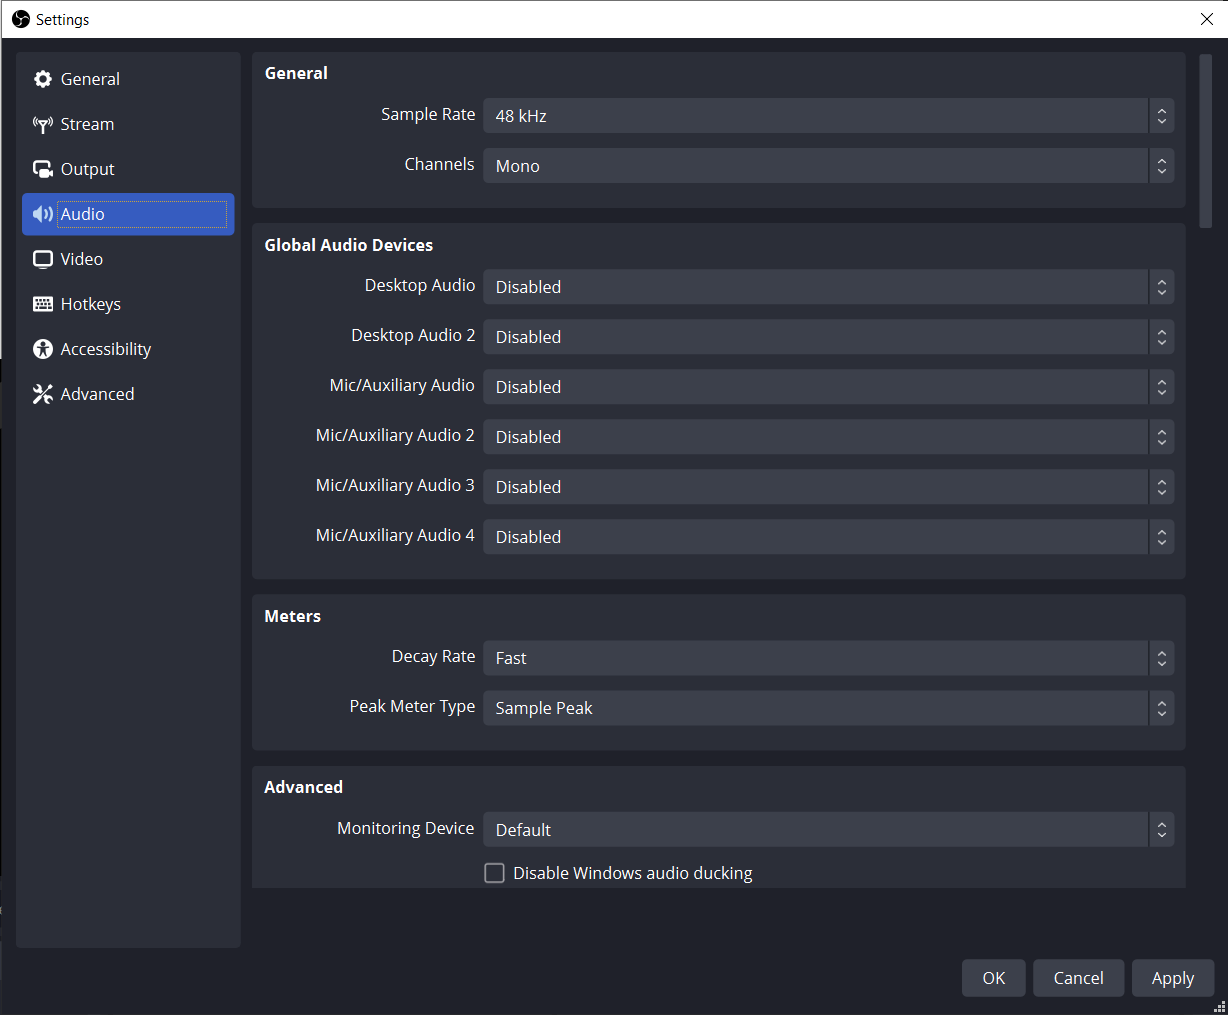
Click on Audio to check the audio settings. Make sure the Sample Rate is 48 kHz and the Channels value is set to Mono.
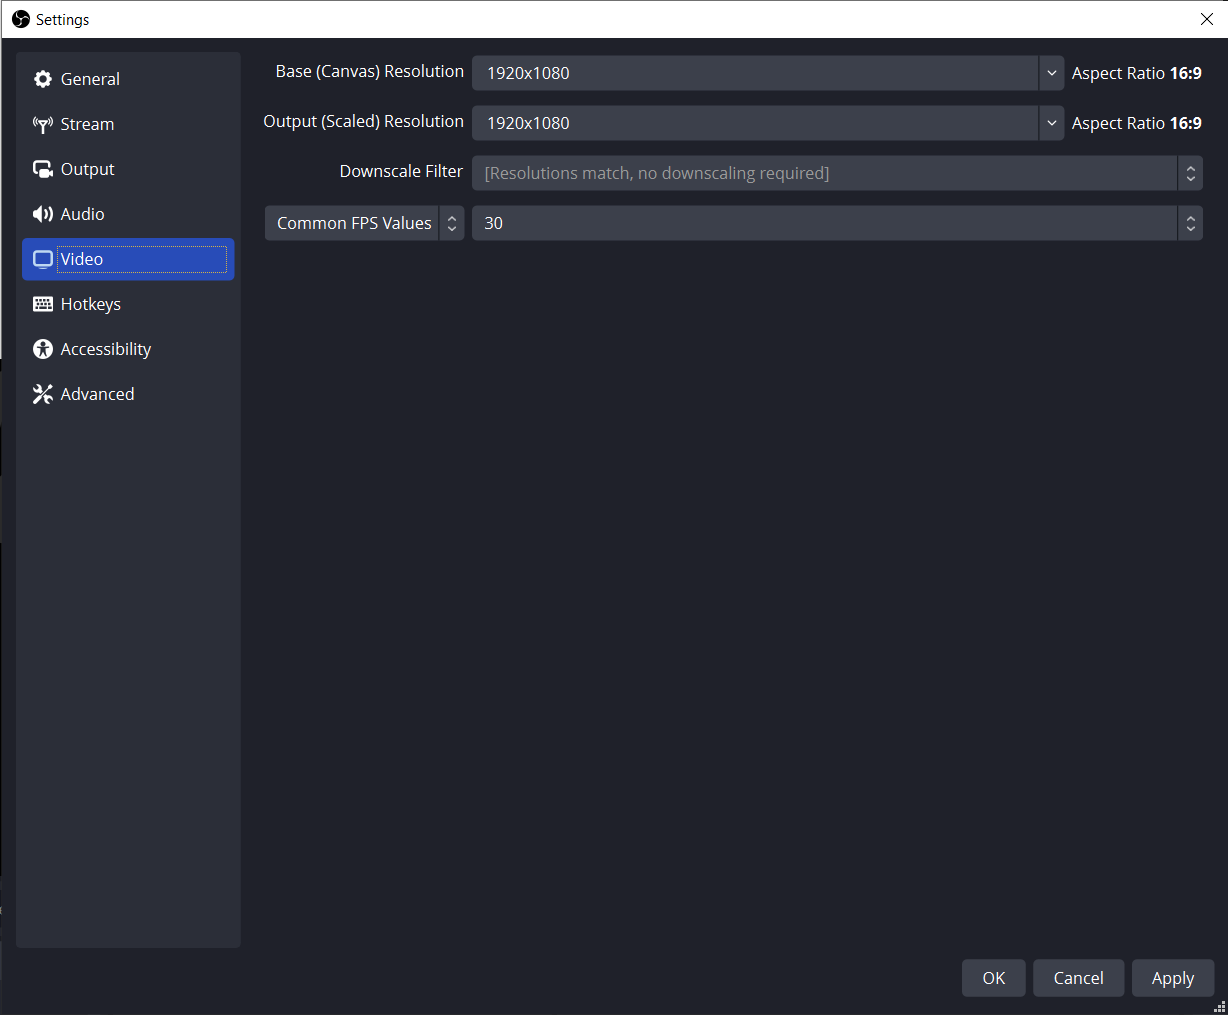
Click on Video to check the video settings. Select values that best match your content.
When done, click Apply and then start streaming.
Verify that the content is being streamed using a Phenix client or the Portal.
See the RTMP page for additional details on RTMP.
OBS Virtual Camera
In addition to streaming via WHIP or RTMP from OBS, you can use the OBS Virtual Camera as an input to the WebSDK.
The simplest way to do this is to publish your virtual camera via publishing permalink from the Phenix Customer Portal, as described below.
First, set up OBS to have the optimal encoding settings.
The OBS virtual camera does not include audio. There are several options for including audio with your video stream. One of the easiest is to install a “virtual audio cable” from VB-Audio Virtual Apps. This is available for both Mac and Windows.
Follow the instructions for downloading and installing the virtual cable.
In OBS, select Settings, then Audio. Select the “CABLE Input (VB-Audio Virtual Cable) from the drop-down menu for Global Audio Devices:

Under Advanced, select the CABLE Input as the Monitoring Device:

Save your settings.
From the Audio Mixer in the main screen, click the gear icon next to the audio track you wish to include. Select Advanced Audio Properties.
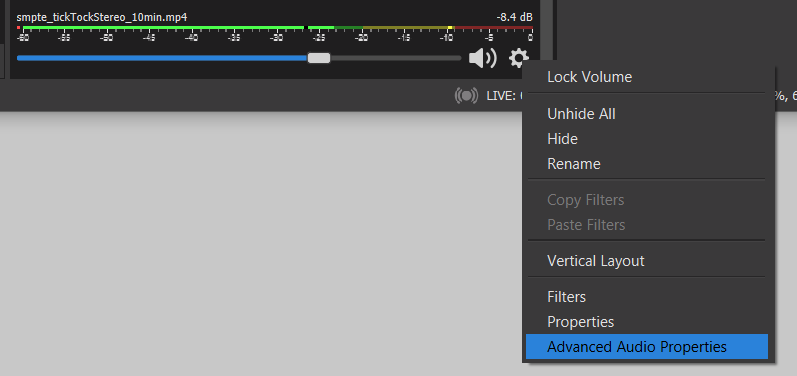
Under Audio Monitoring, select Monitor and Output.

Save your changes.
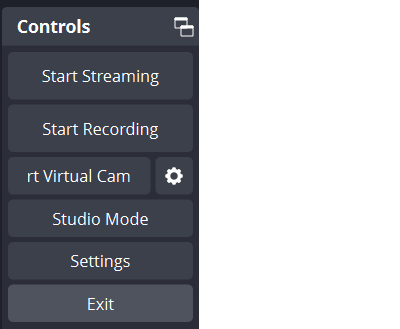
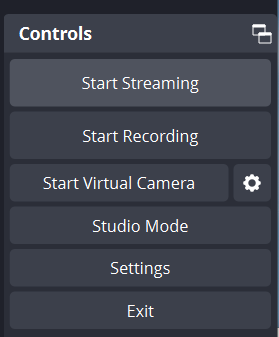
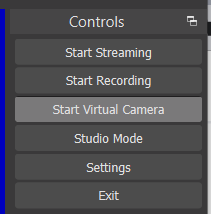
Click Start Virtual Camera.
Create a publishing permalink in the Phenix Customer Portal and click on the permalink.
Select the Virtual Audio Cable as an option for your microphone:

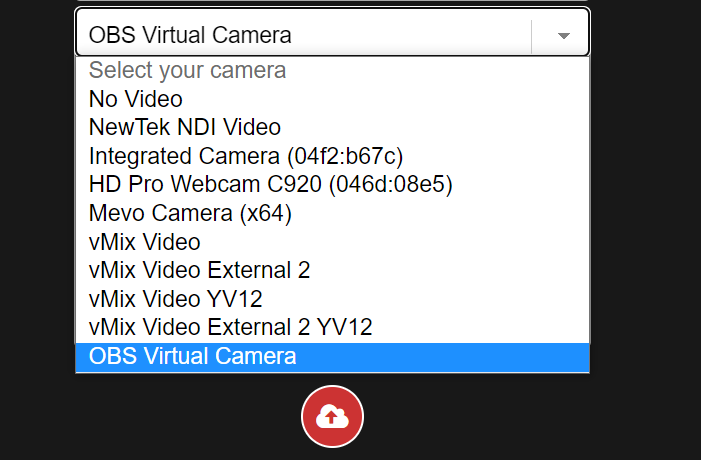
Select the OBS Virtual Camera from the “Select your camera” drop-down:
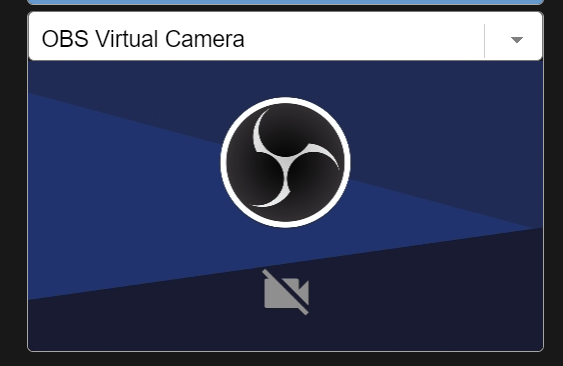
If your OBS virtual camera is not running, you will see the OBS logo:
Use a video clock to measure the latency, which in the example below is about 10 frames, or ~350ms.

v2025-03-24T21:12:24.000Z